Editing Rows and Columns
Editing Rows and Columns
Learning Objectives
- Adding columns and rows
- Removing columns and rows
- Learning how to move cells
Adding Rows and Columns
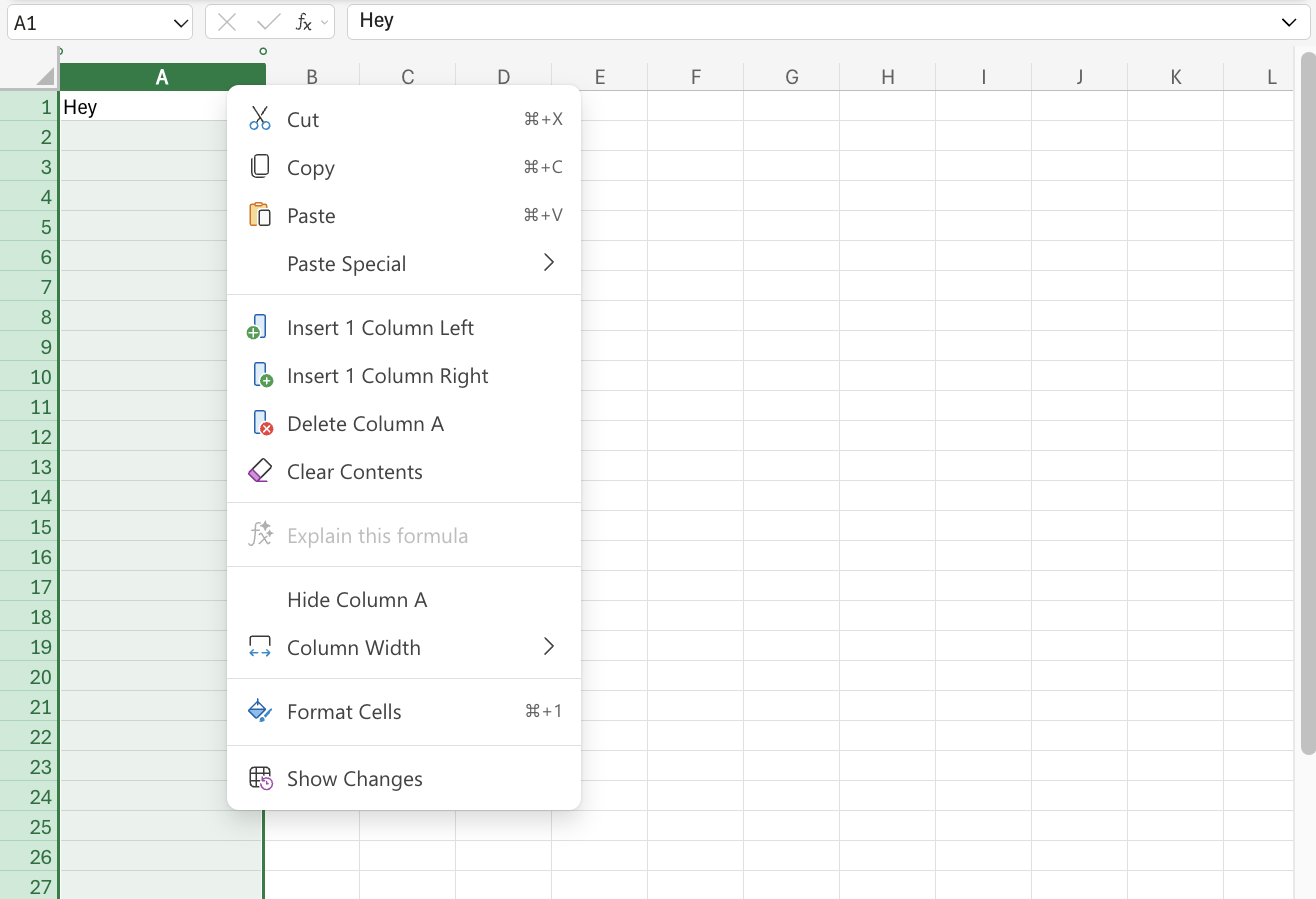
Columns and rows can be added and deleted. There are two ways to do this. We will start with adding a column. The first way is to access the command menu by right-clicking the column letter. Once you menu appears, select “Insert Columns.” Then a new column will appear.
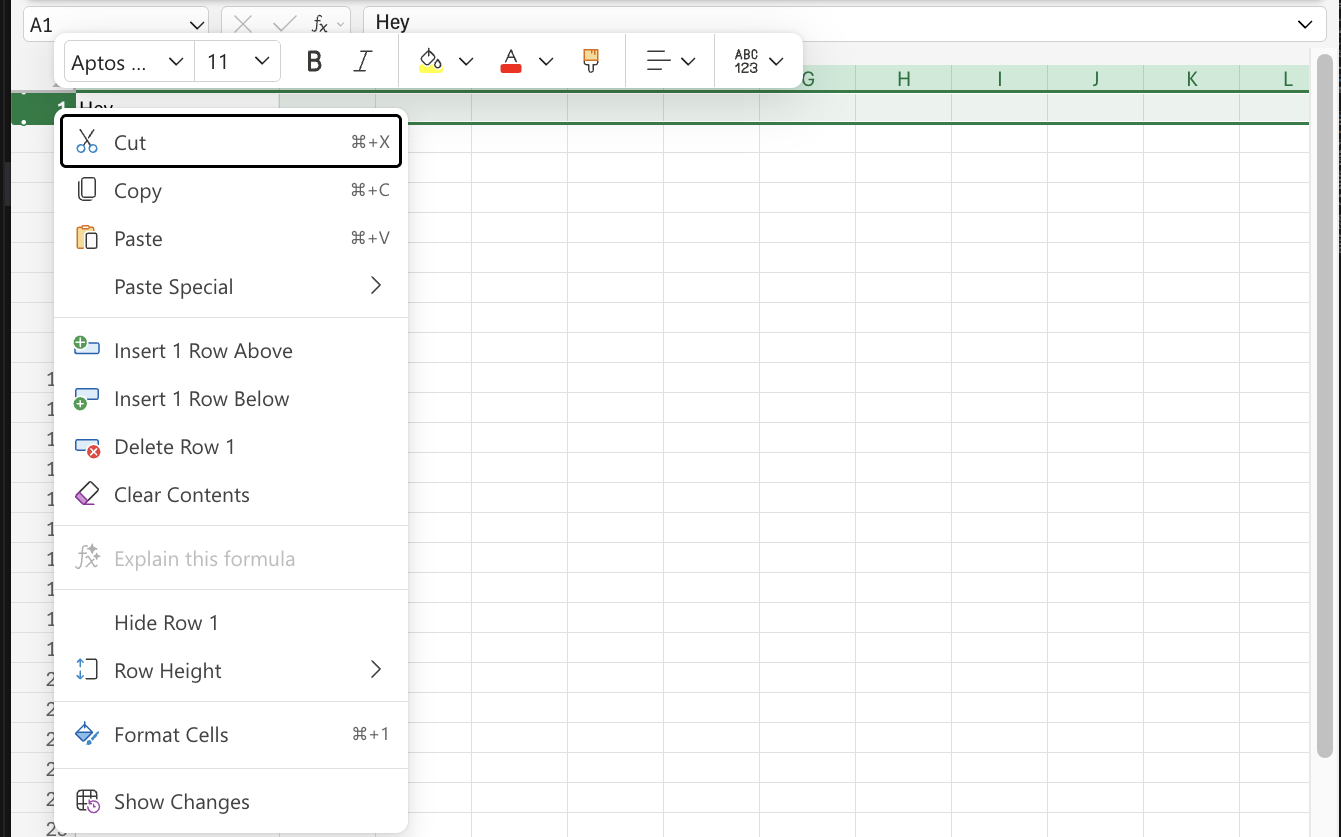
This same method can also be used to add a row. To add a row, right-click the row letter and select “Insert Rows” from the command menu.
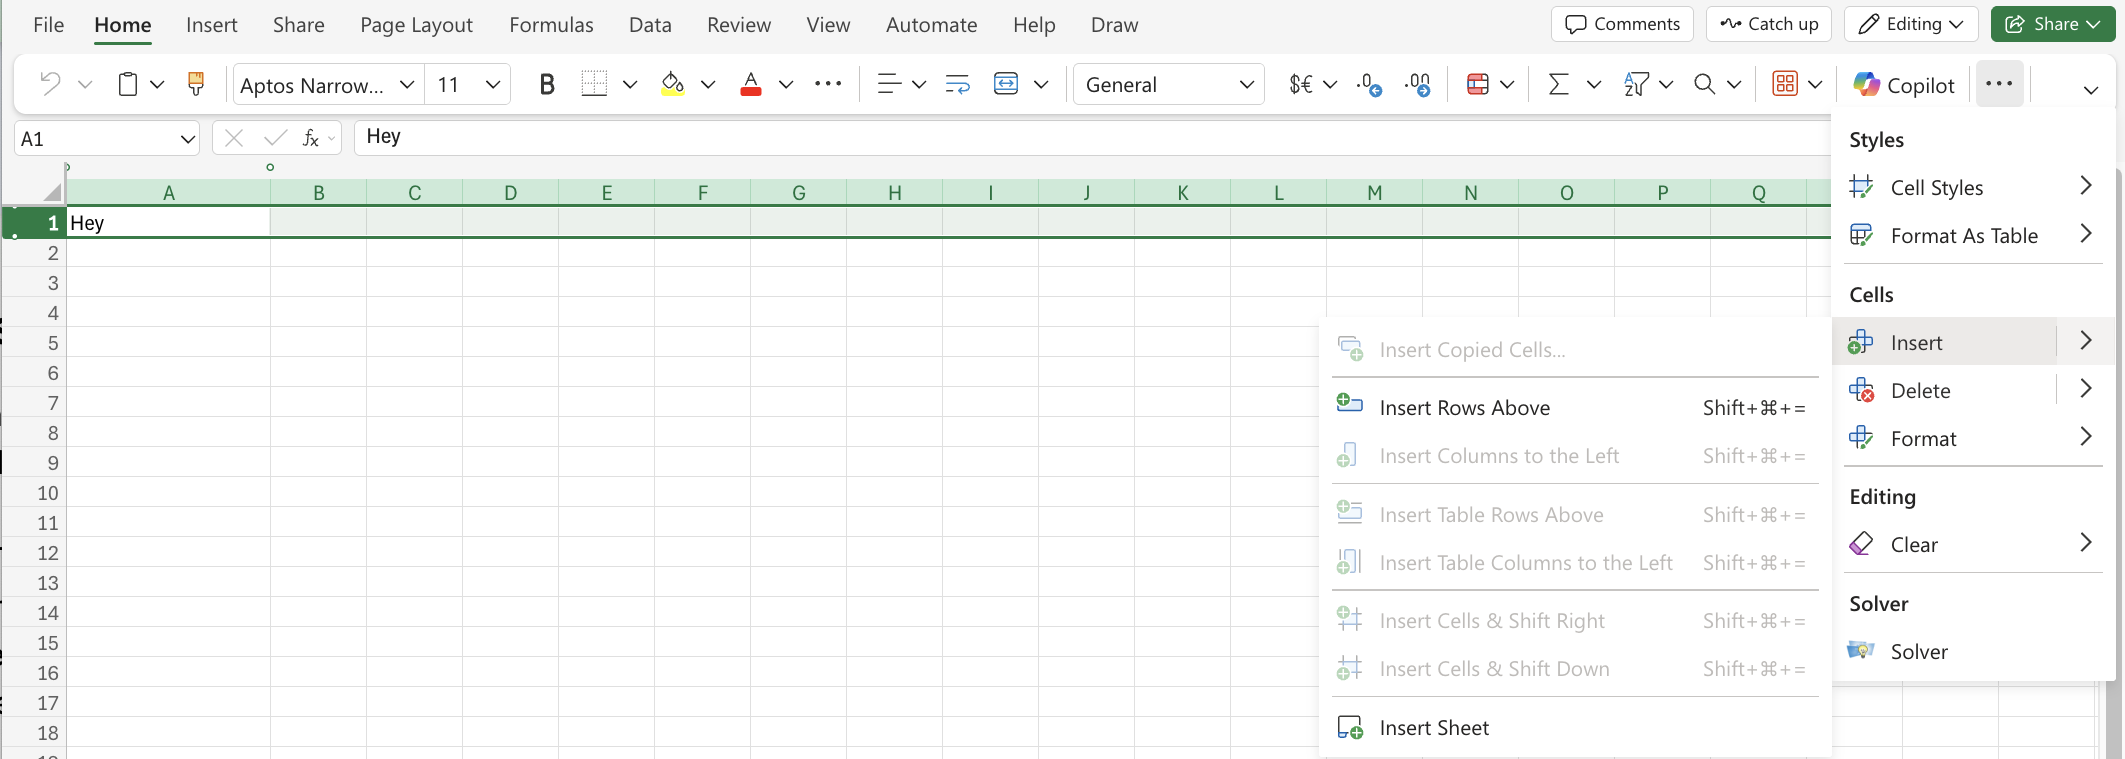
The second method is to use the insert rows and columns option in the Home tab (on the web version) from the Ribbon. The Home tab gives you an option to insert rows and columns next to the column/row you have selected.
Example:
Deleting Rows and Columns
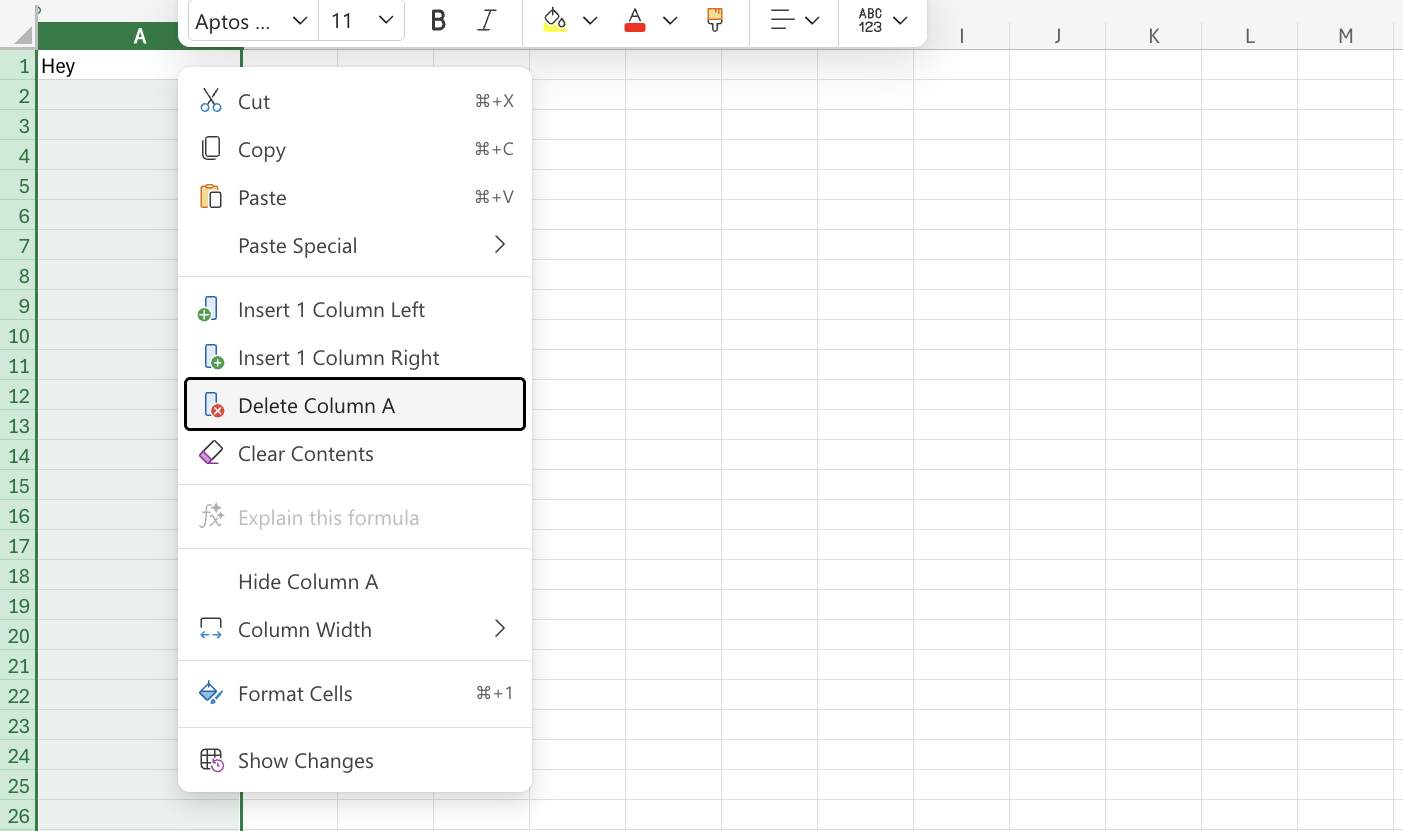
Deleting columns and rows in Excel helps keep your worksheet clean and organized. To delete a column, click the column letter at the top, right-click, and select Delete. Then all the data in that column is removed and the remaining columns shift left.
To delete a row, click the row number on the left, right-click, and choose Delete, causing the rows below to shift upward.
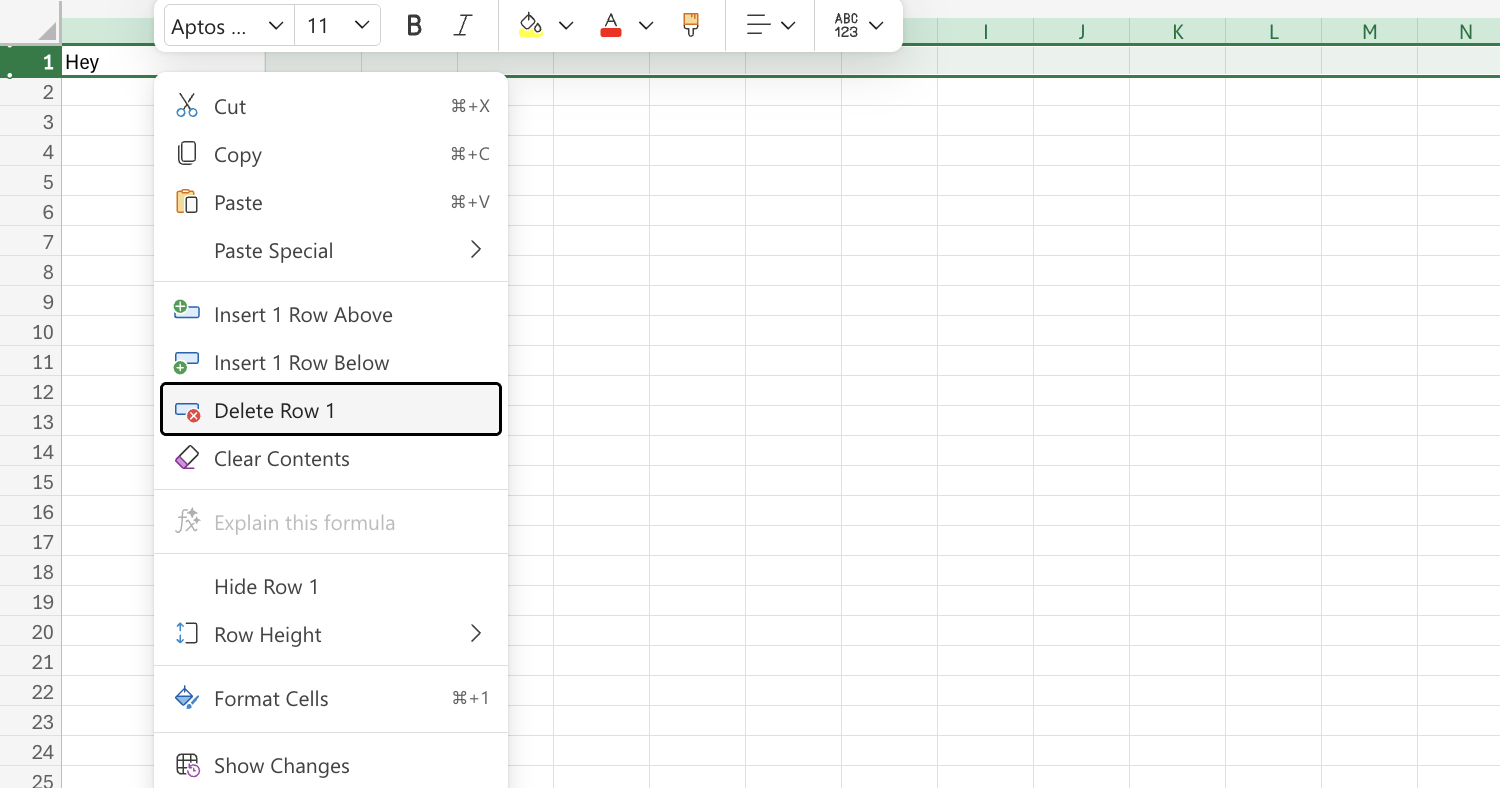
You can also delete multiple rows or columns by selecting the first one, holding Shift, and selecting the last in the range before choosing Delete.
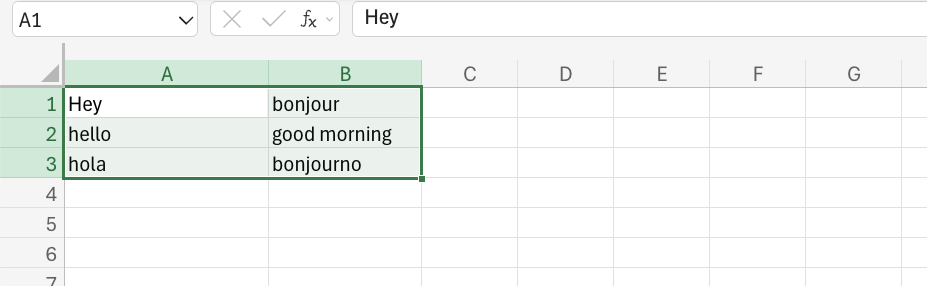
Before the cells are deleted:
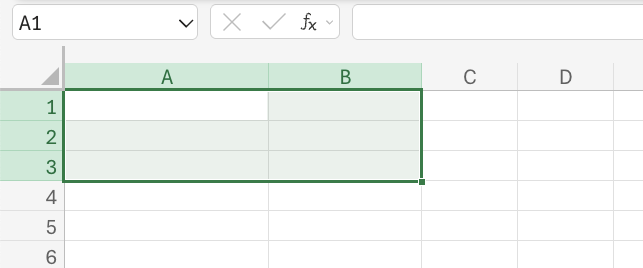
After the cells are deleted:
Tip: For faster editing, use the shortcut Ctrl + - on Windows or Cmd + - on Mac after selecting the row or column. If you delete the wrong section, remember you can always undo using Ctrl + Z or Cmd + Z.
Moving Cells
There are two methods for moving cells: copy and paste and drag and drop.
Copy and Paste Function
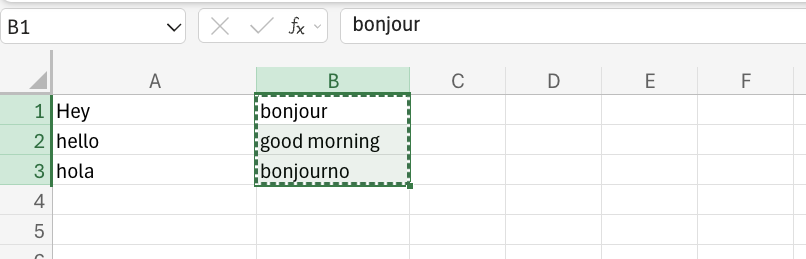
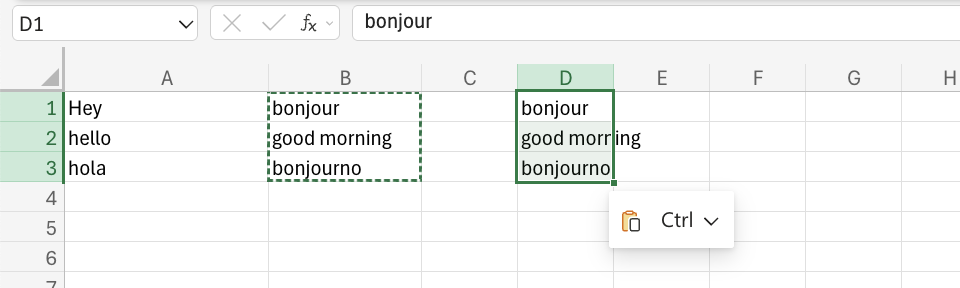
Copy and paste does not remove the original cells. A keyboard shortcut for this is using the buttons, CTRL + C to copy and CTRL + V to paste.You can also right-click the cells you want to move and click on the “Copy” command. When the selected cells are copied, you will see a dotted green border around those cells. This shows that the range is copied and ready to be pasted.
Then right-click the paste destination and left-click the paste icon.
Alternatively, you can also use the Cut and Paste function using the same method. The keyboard shortcuts for Cut and Paste are CTRL + X for Cut and CTRL + V for Paste.
The difference between the copy and paste and the cut and paste functions is that the cut and paste function removes the values from the original cells. On the other hand, copying leaves the values in the original cells. Please use these functions accordingly.